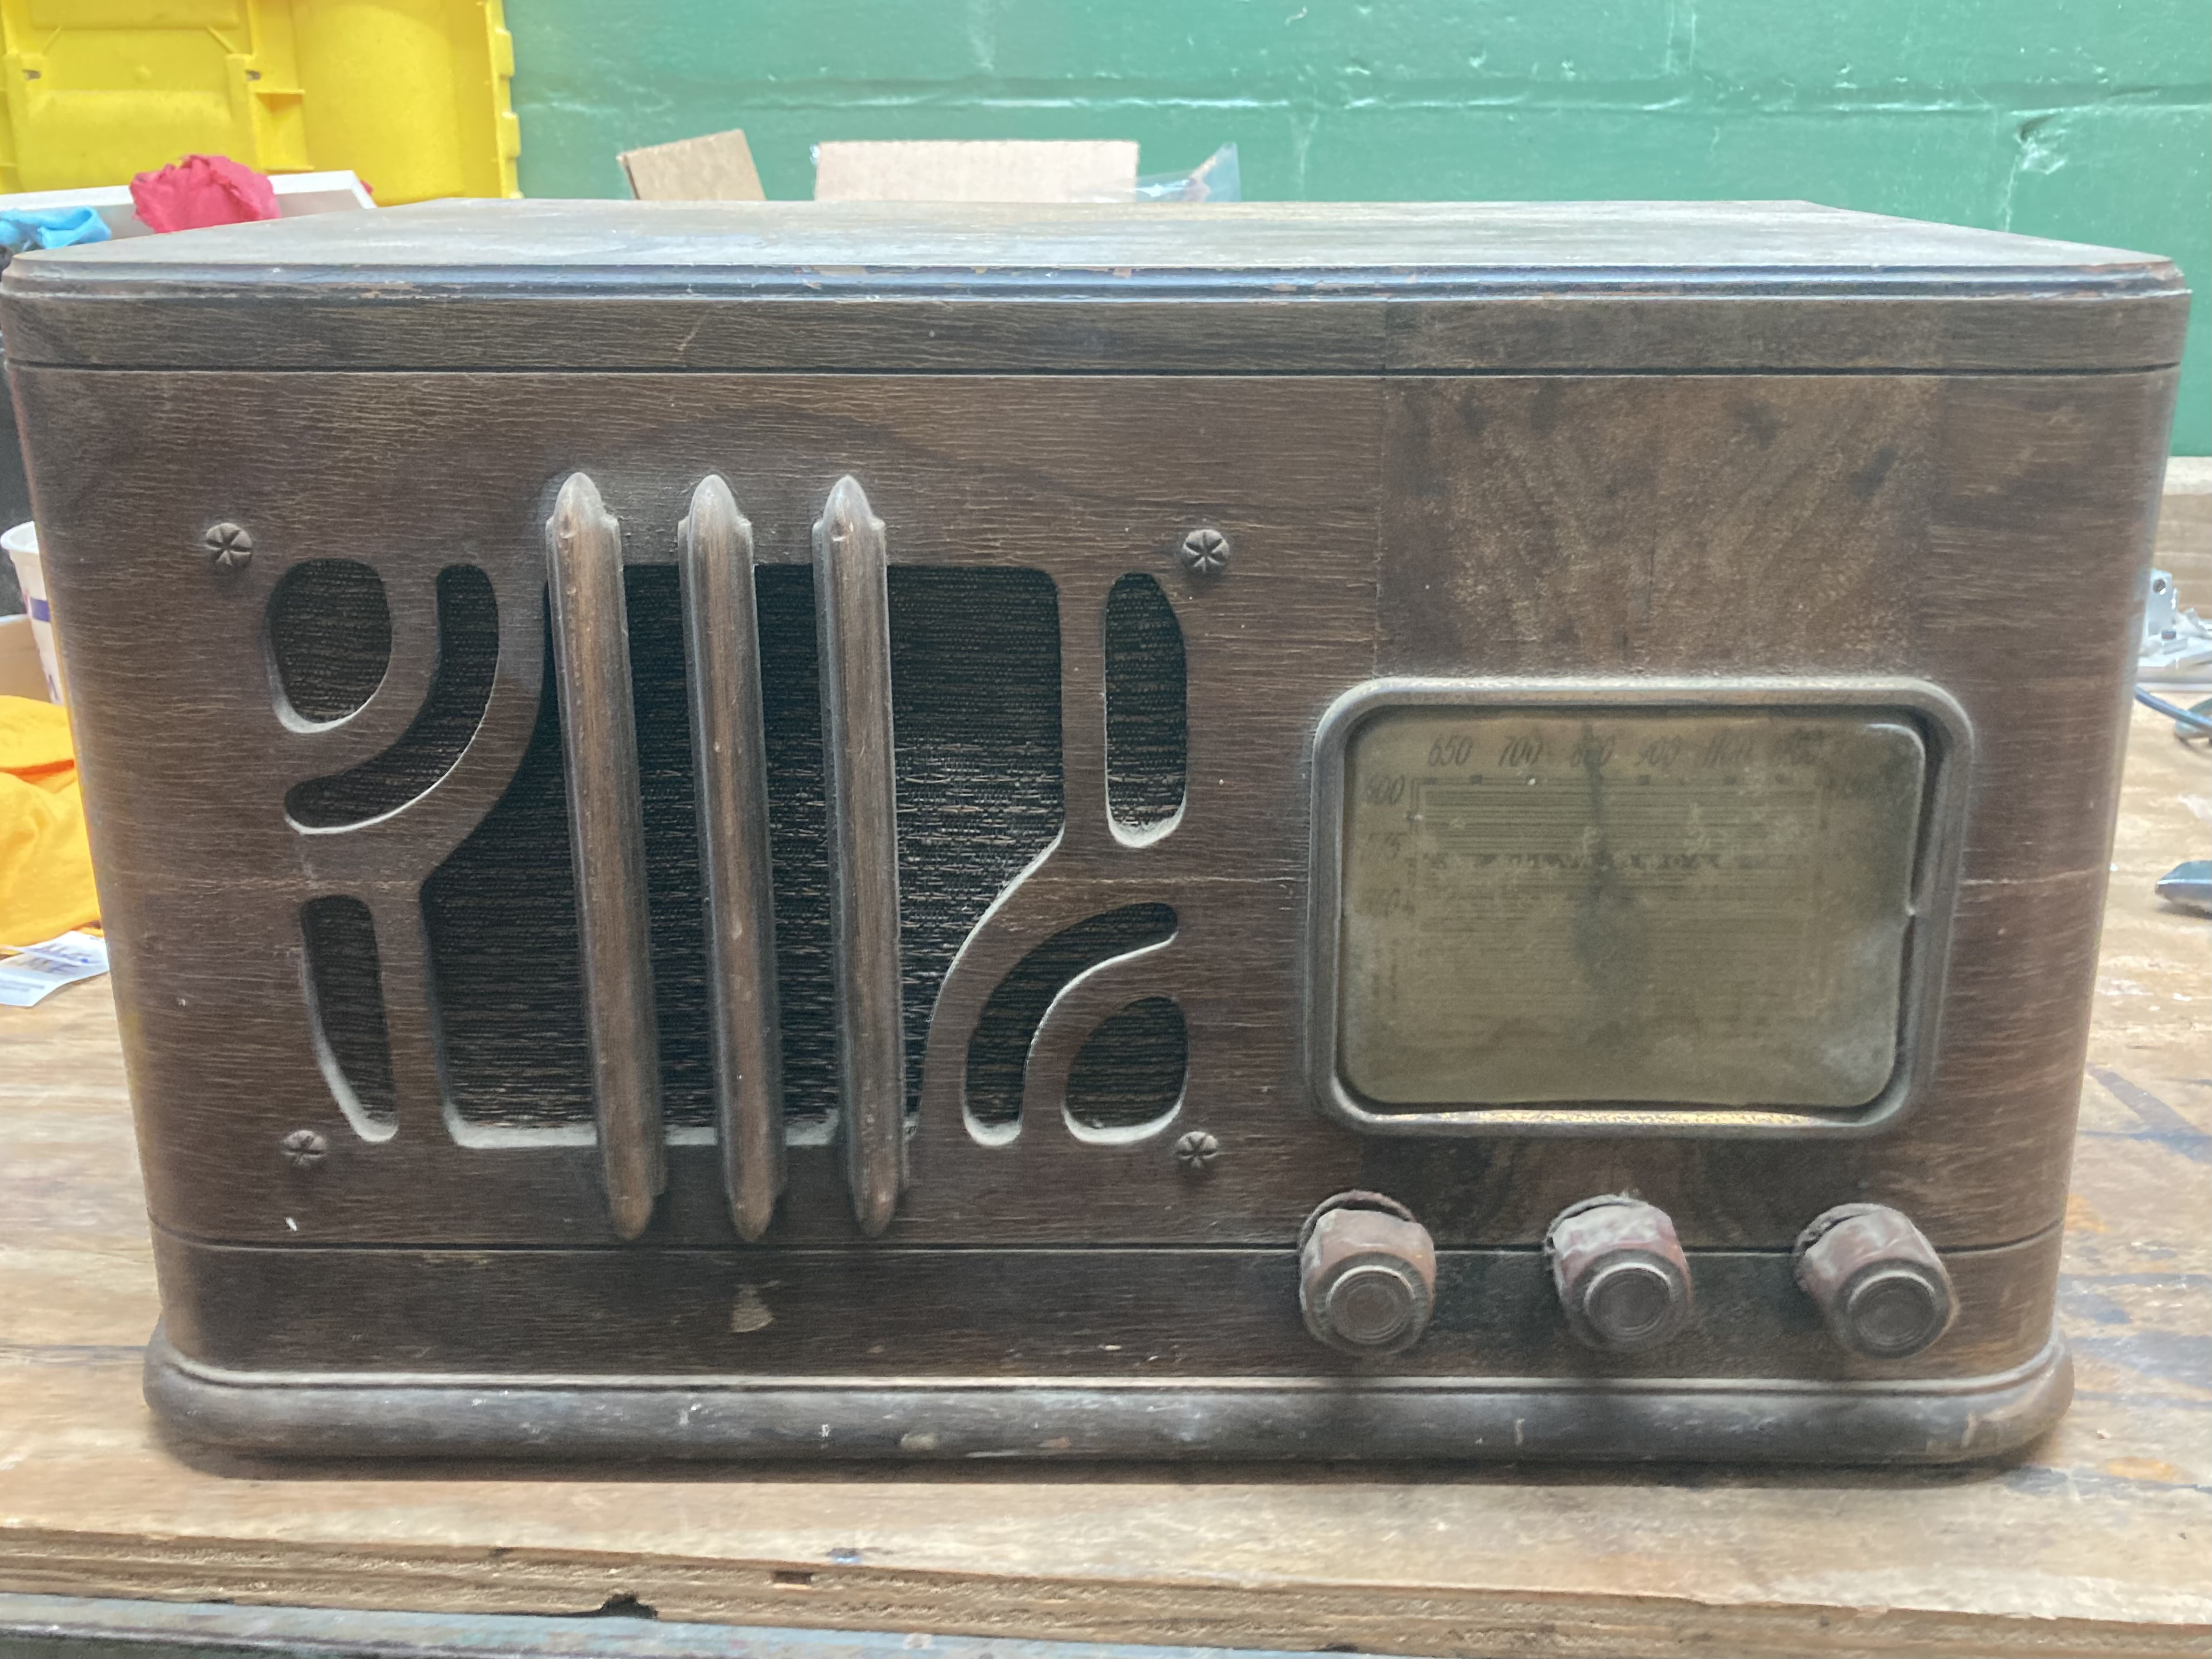
I got this old radio at a Michigan Antique Radio Club yard sale. It was a little beat up, but a great deal–only \$15 for a radio that would have cost \$16.95 new!
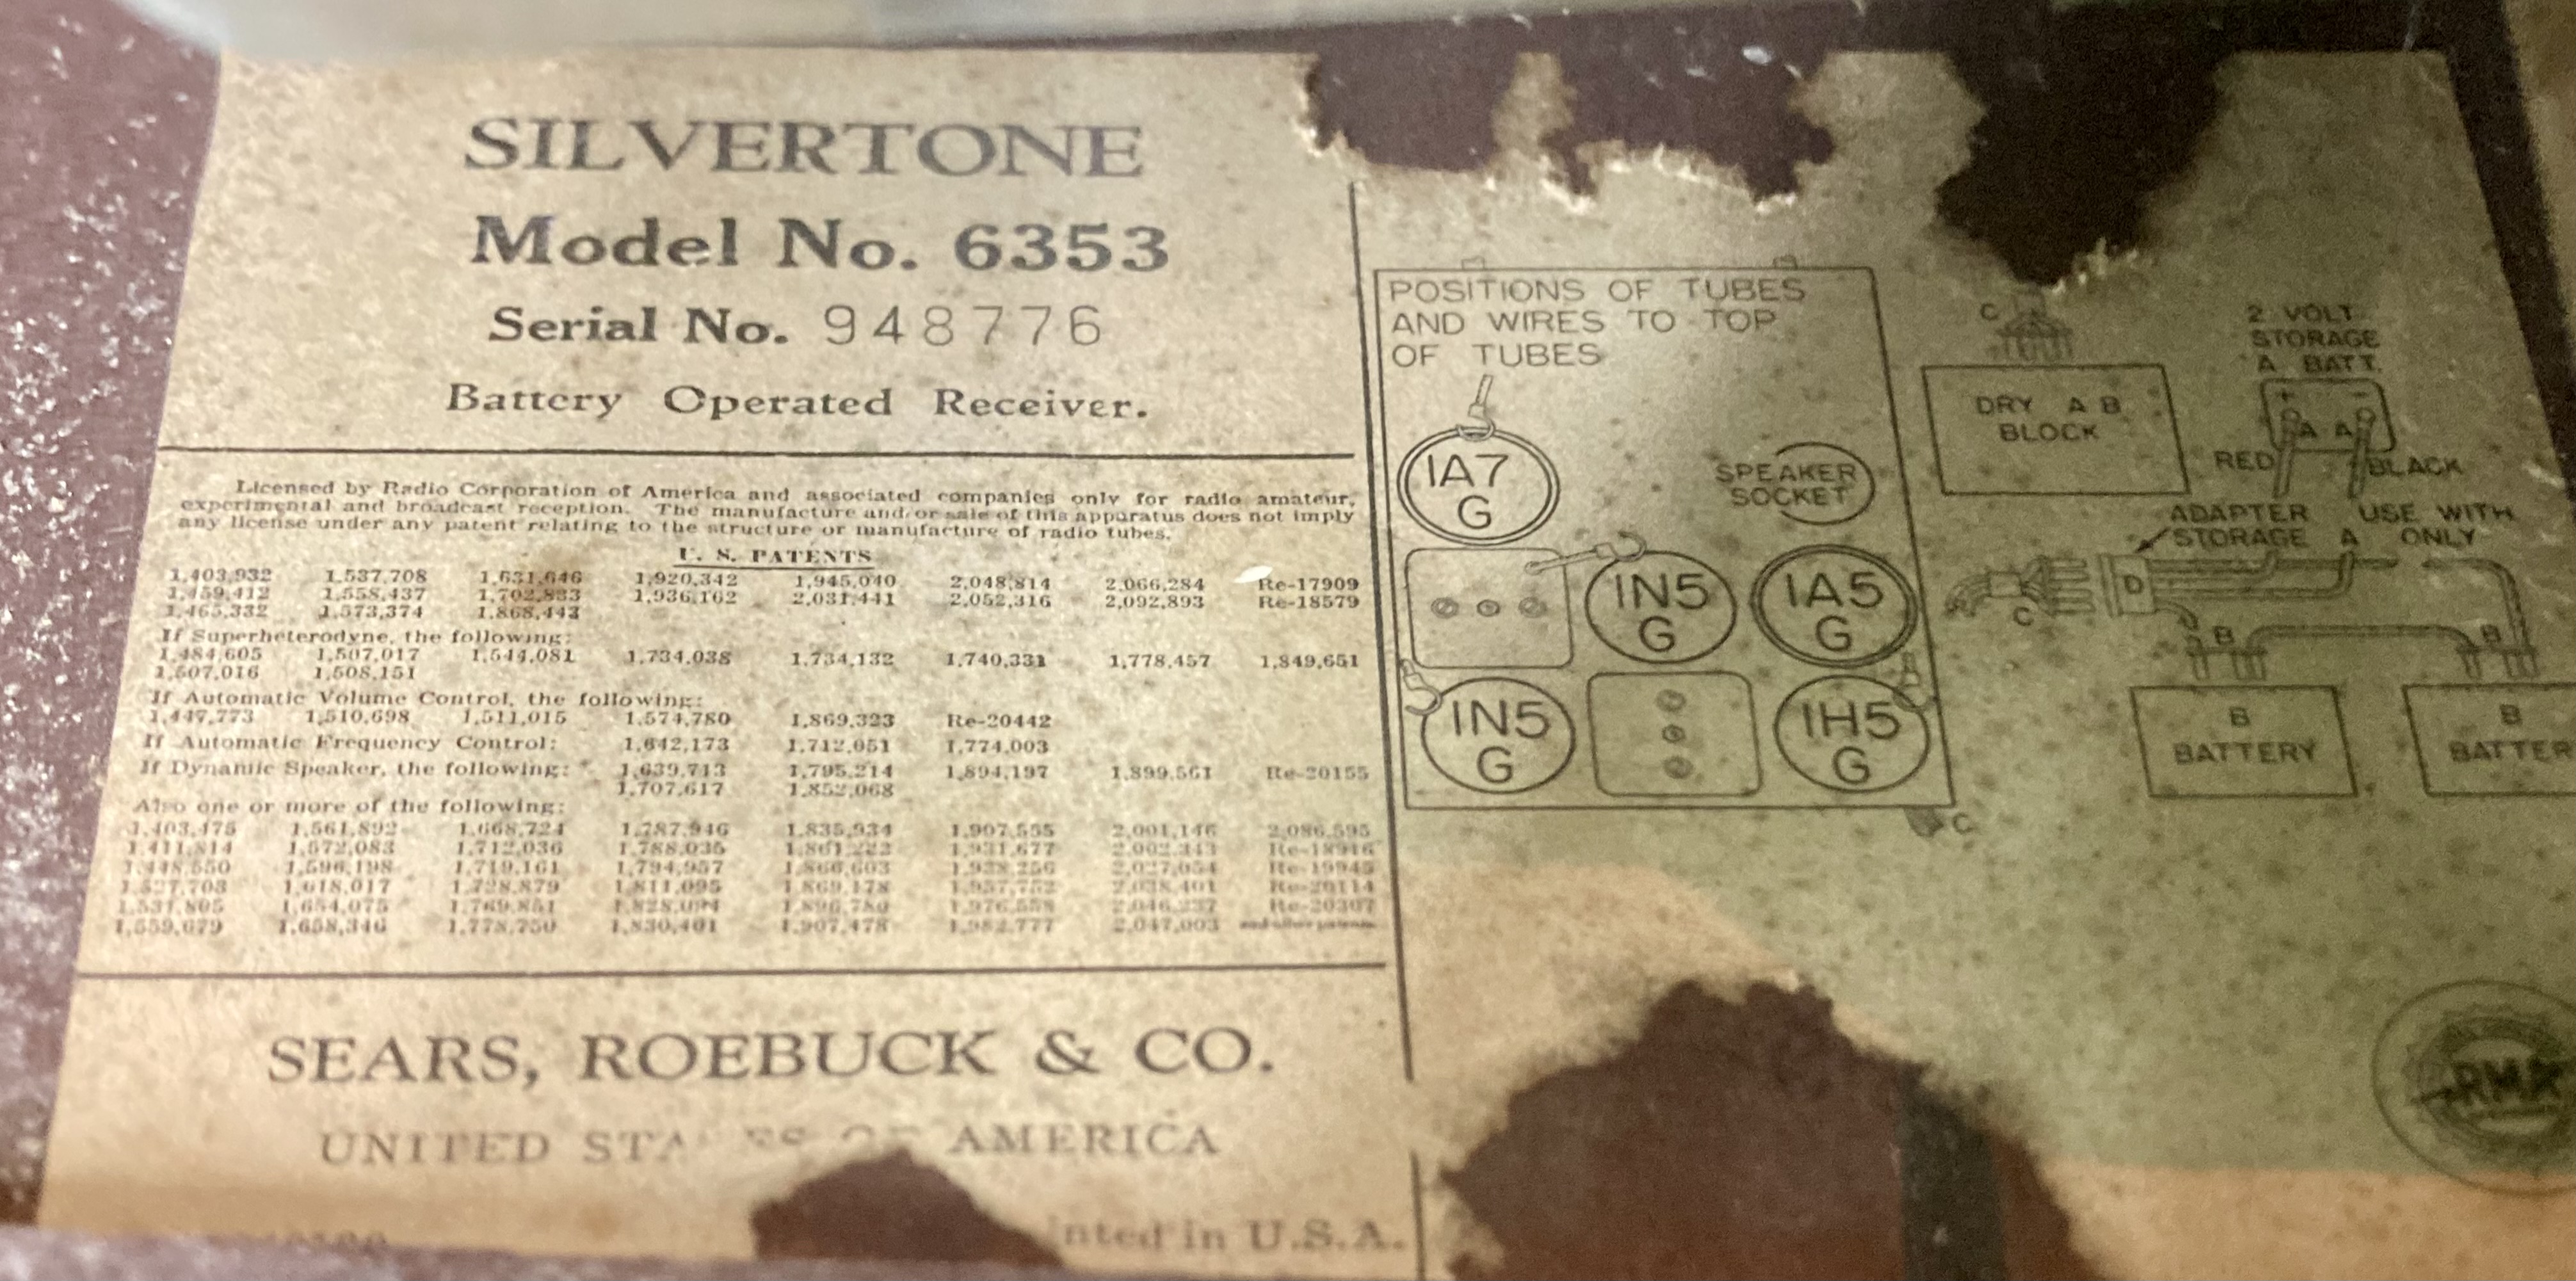
The bottom has “41” and “6353” engraved on it, presumably because it is a 1941 Silvertone model 6353. It is a battery-powered “farm radio”, designed for operation in locations that might not have electricity otherwise.
Electronics
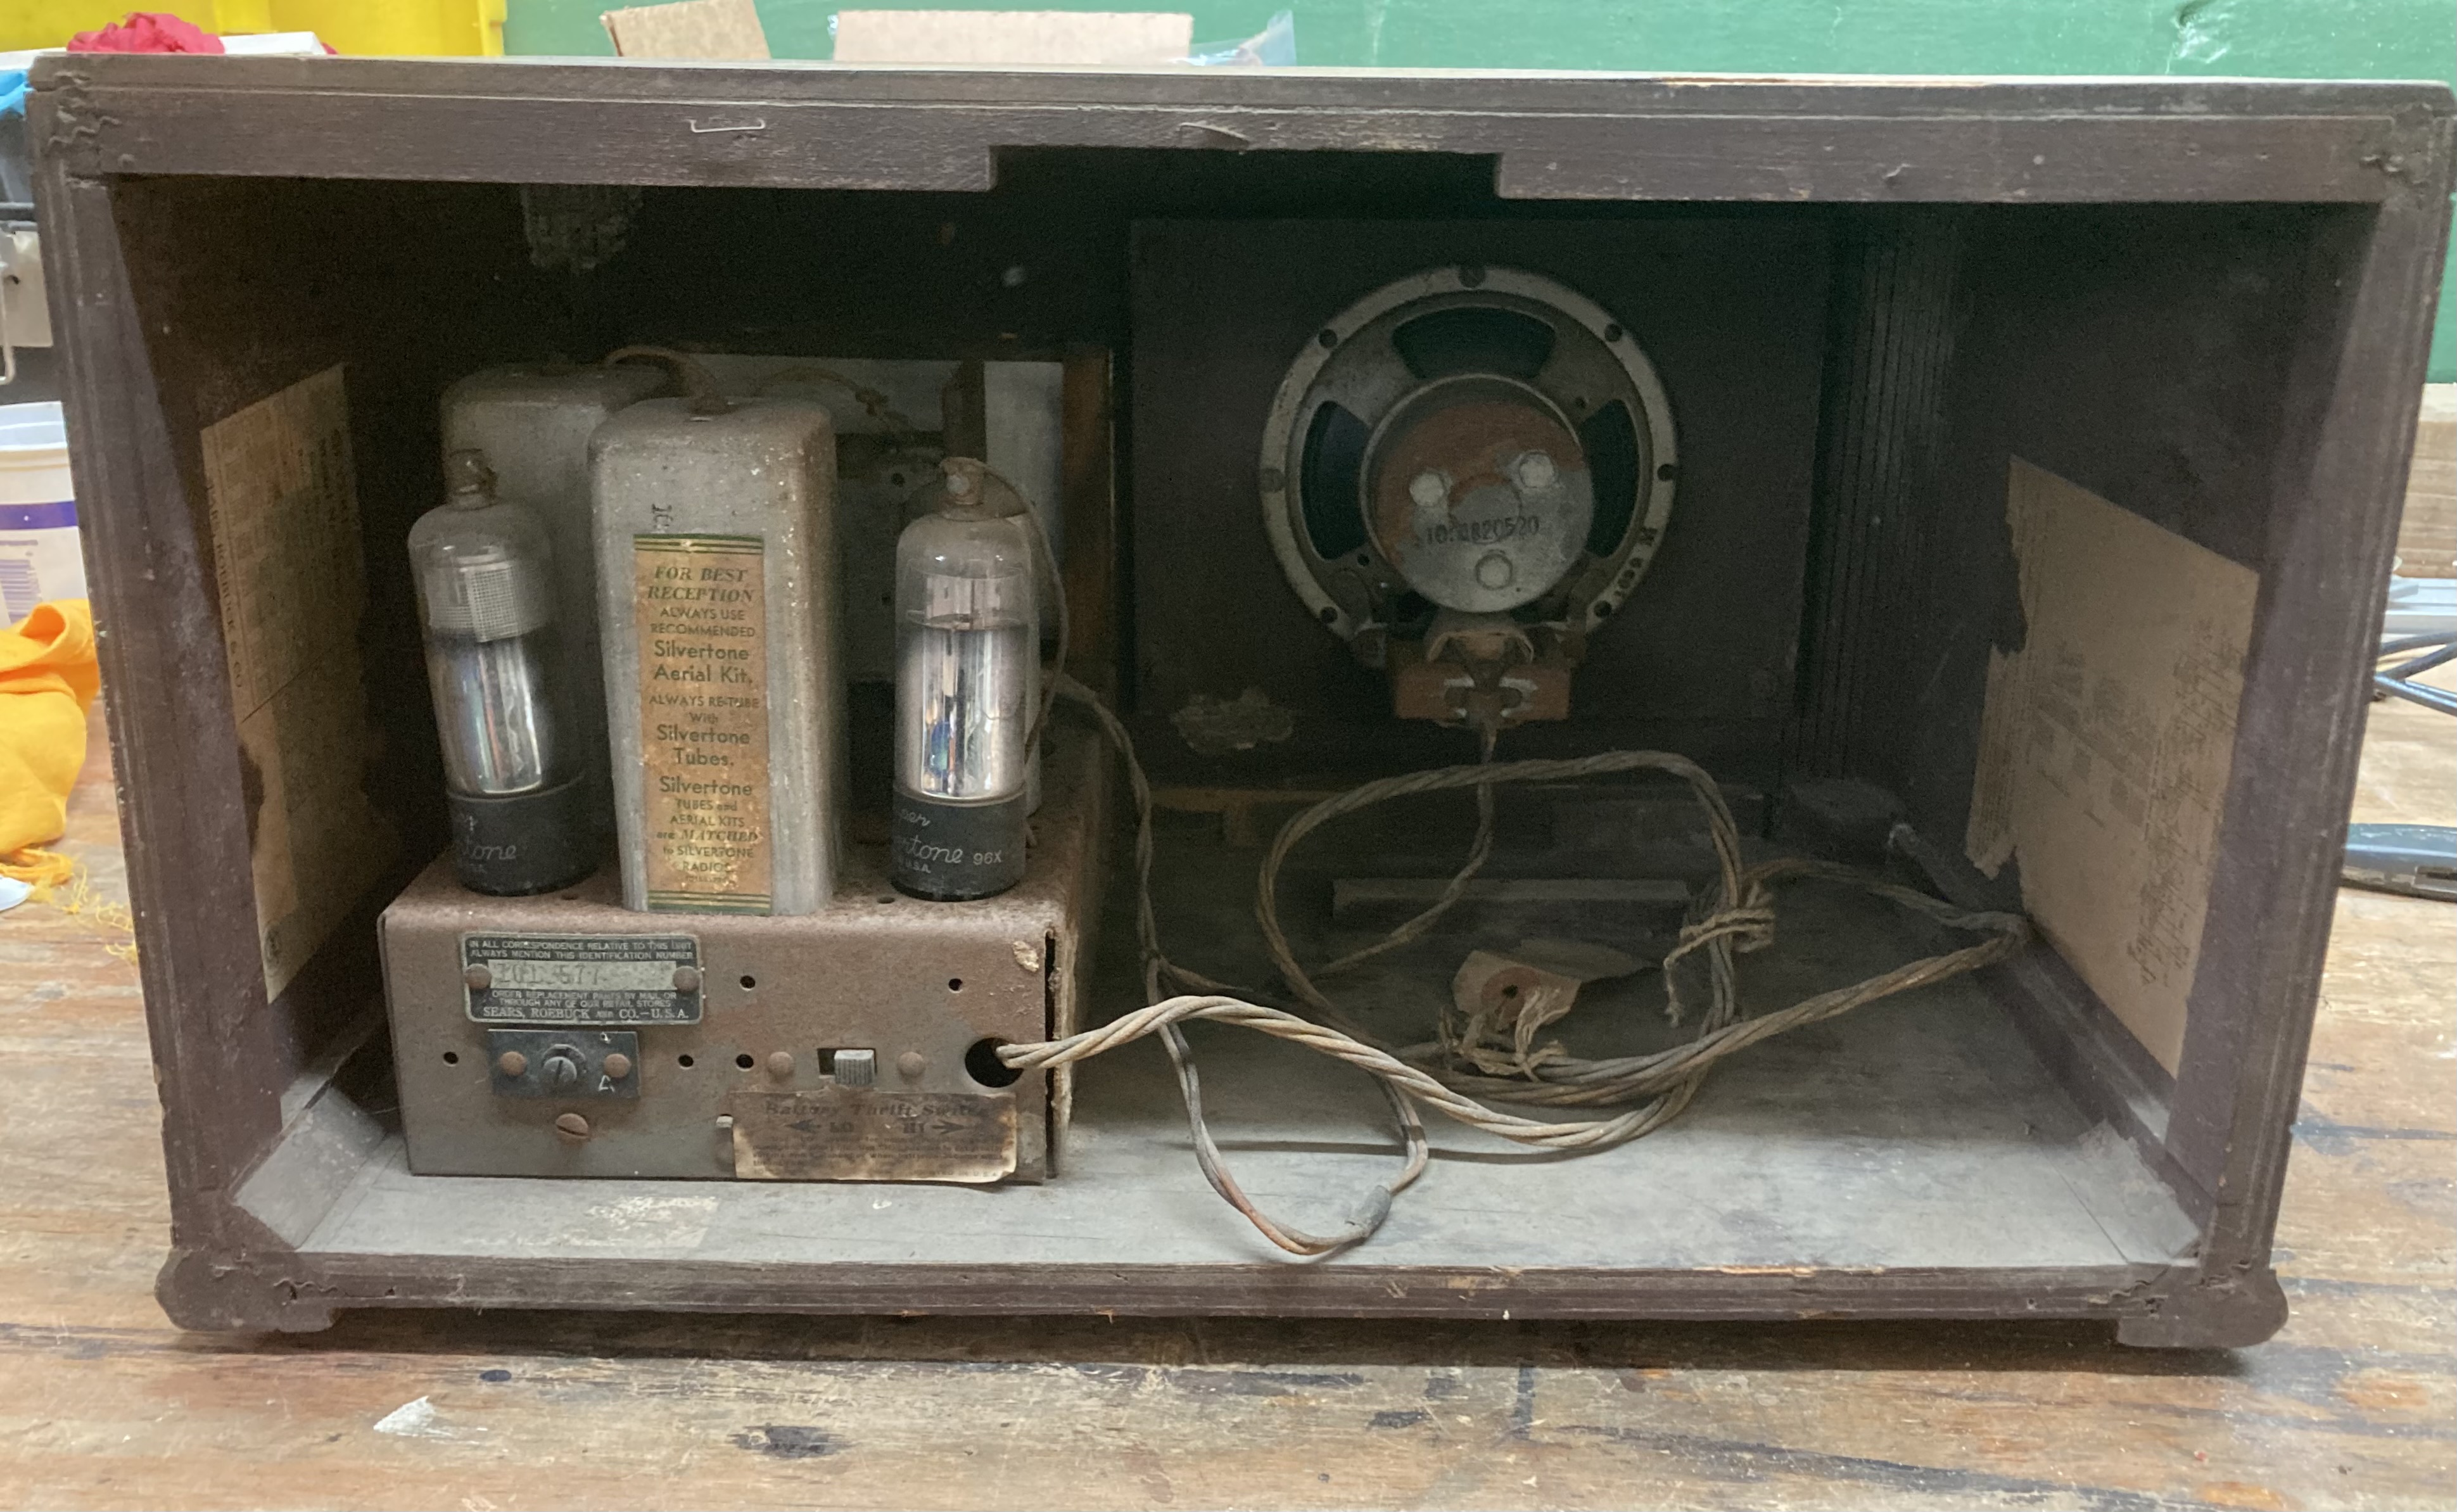
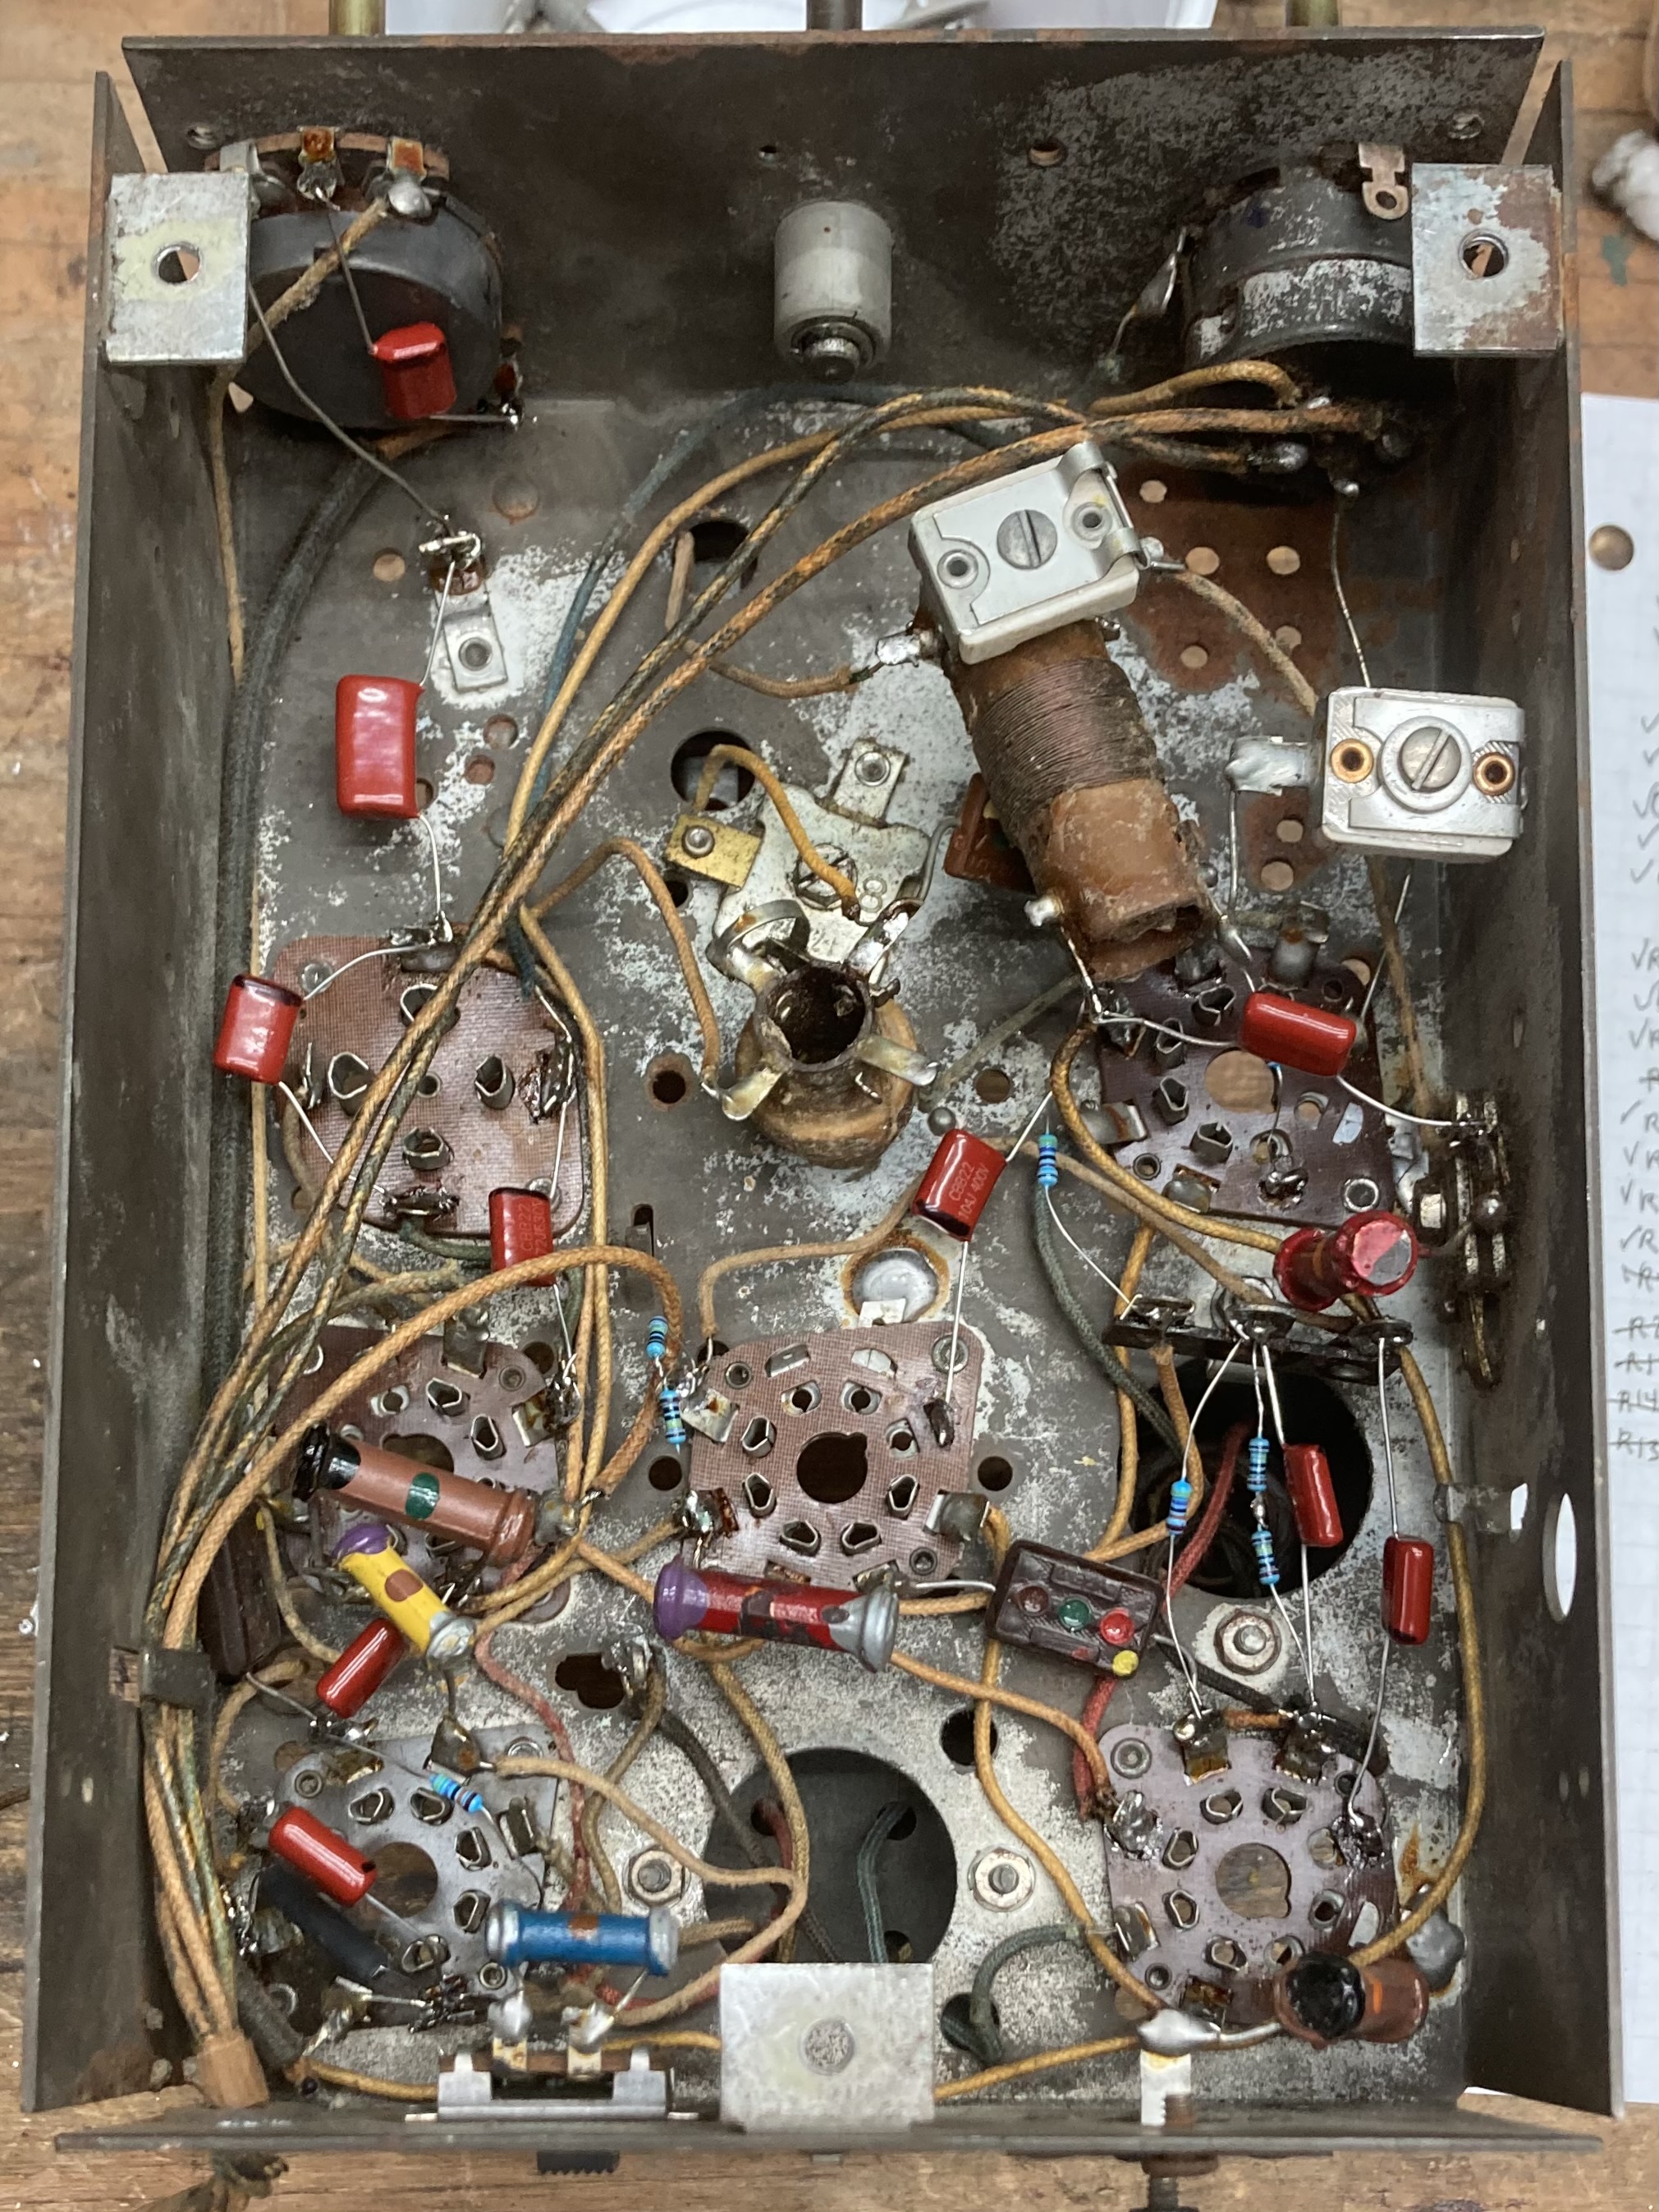
The speaker cable plugs into a socket on the chassis and is easily removed. After taking the knobs off and removing three screws on the bottom, the chassis slides out. The contacts on top of the tubes were completely rusted on. After breaking the top off of one of the beautiful original tubes, I opted to just desolder the really stuck ones. I was able to get a replacement 1N5GT, which doesn’t look nearly as nice, but at least there was already another replacement GT tube in the radio. Flipping the chassis over reveals a lot of gross wax capacitors:
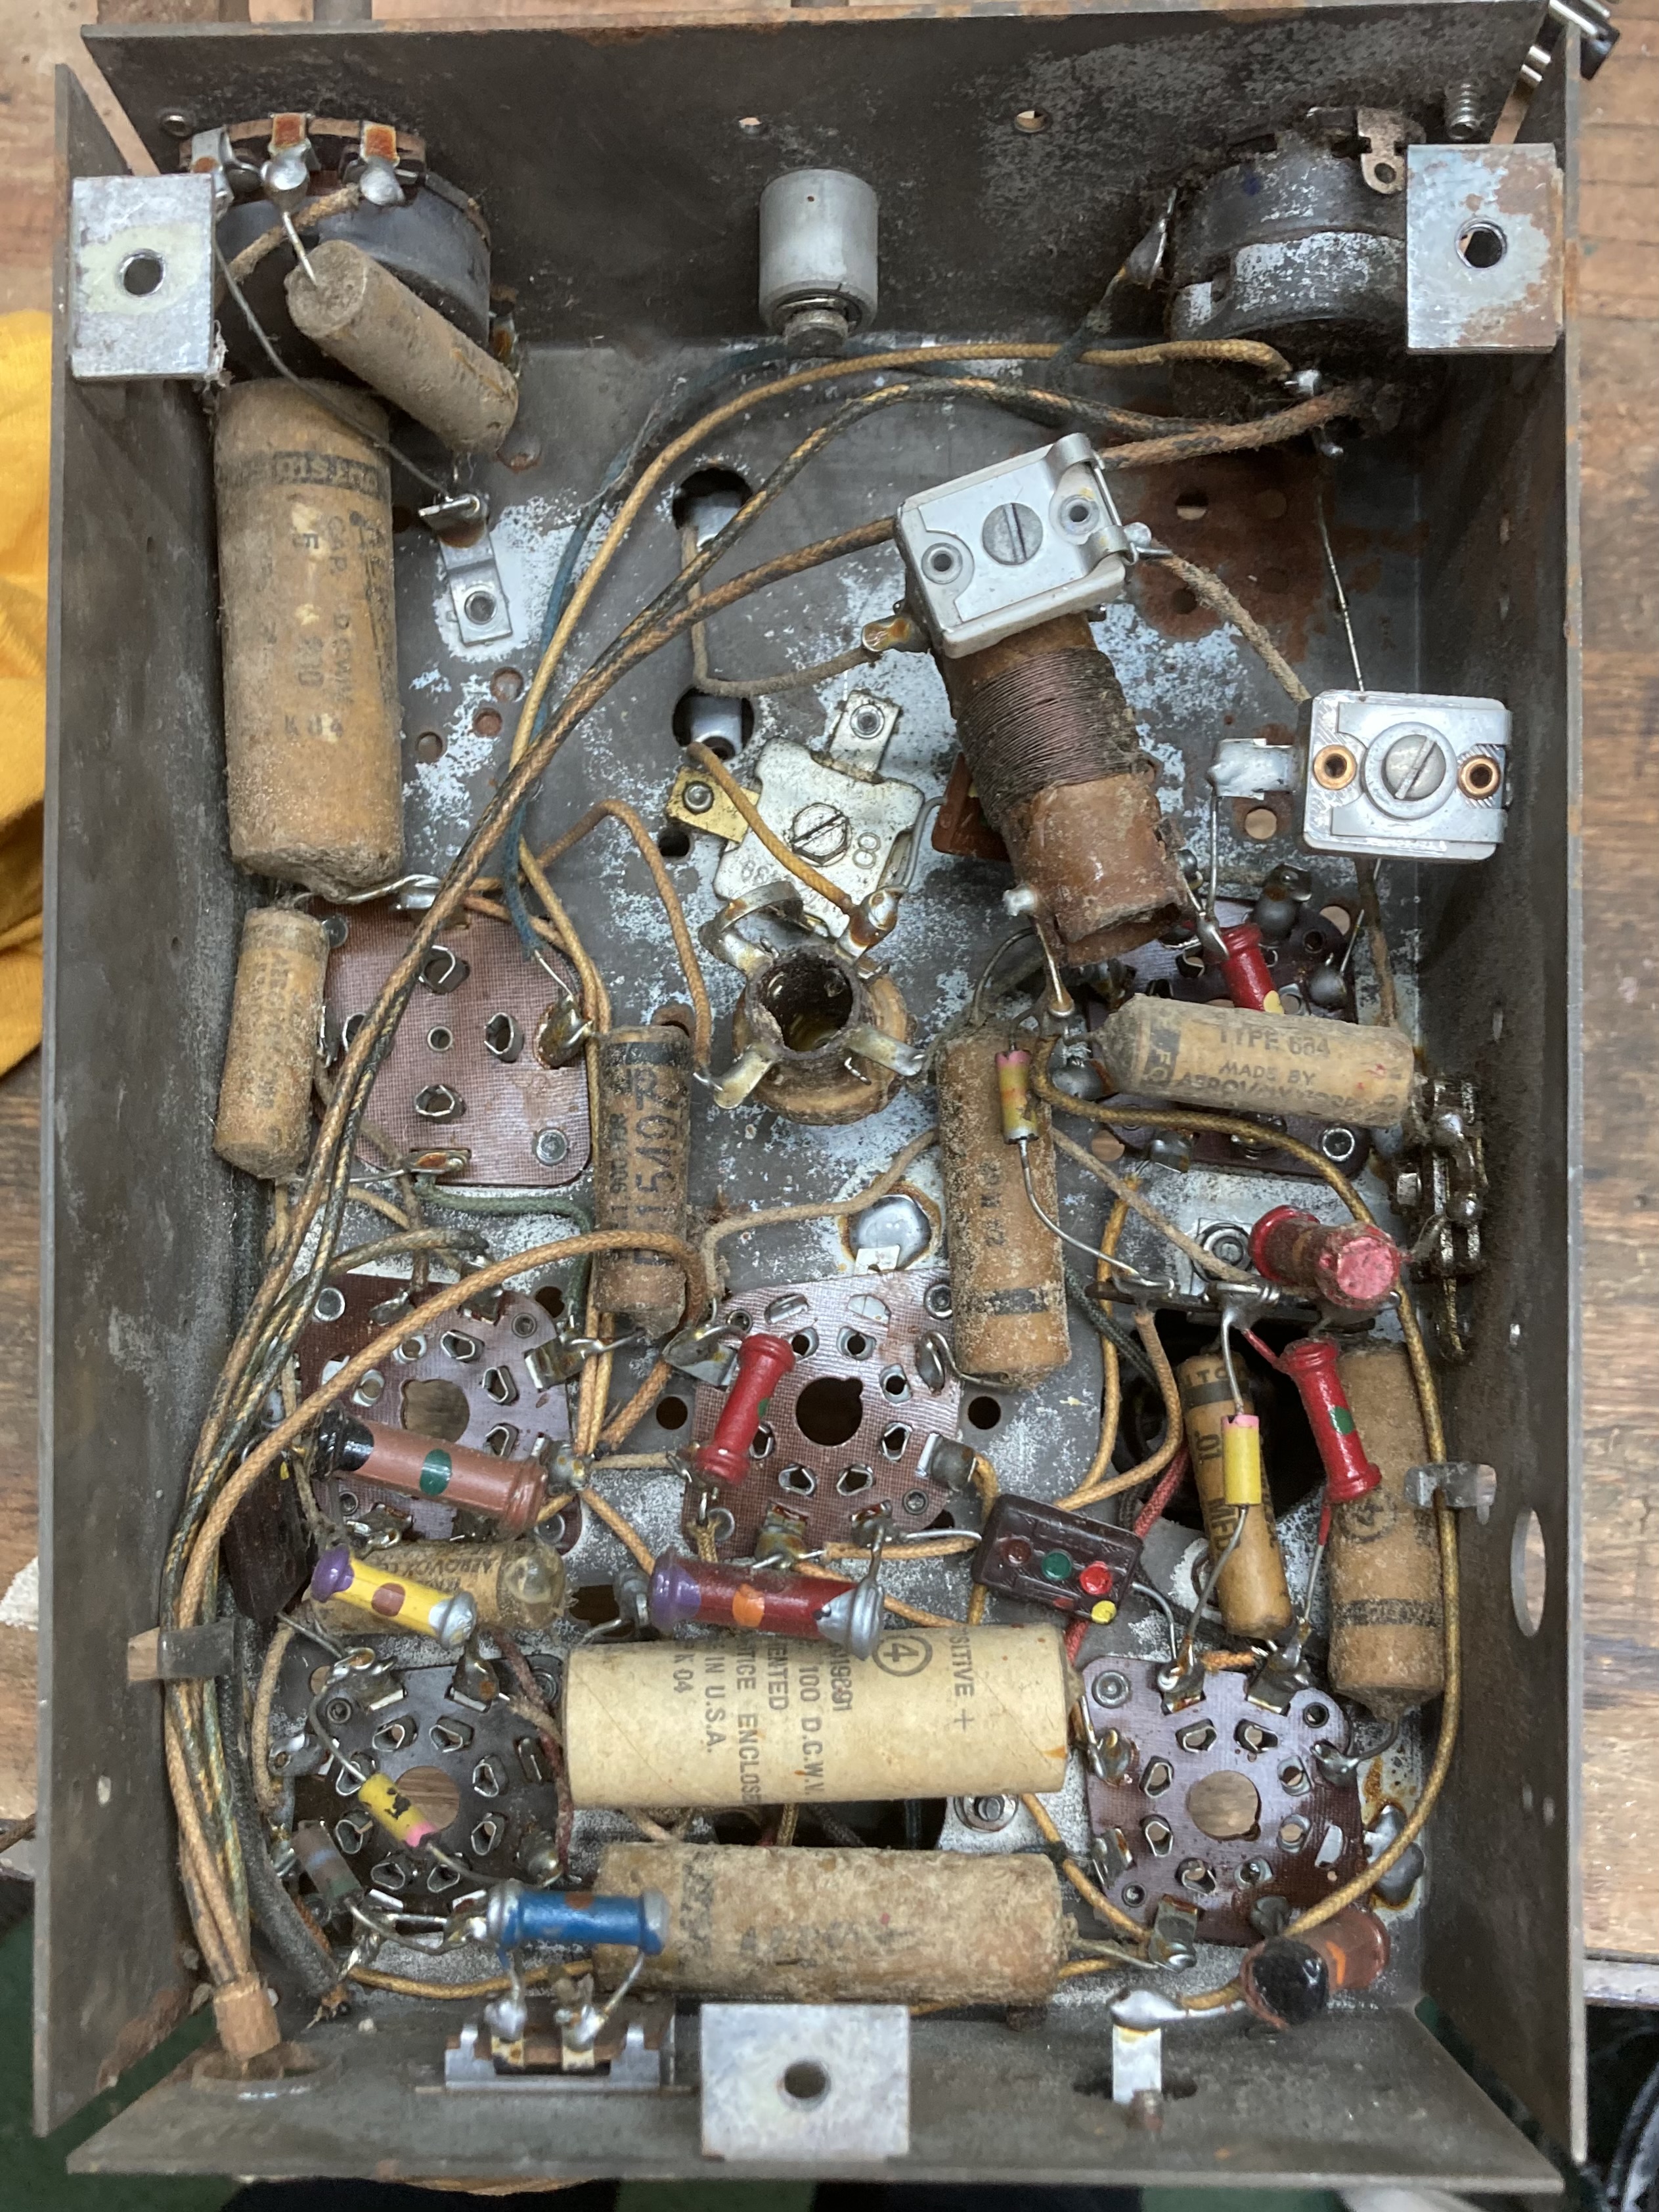
I replaced all of the old wax capacitors with modern metallized film capacitors. I also checked the resistors and ended up replacing about half of them that were completely out of spec.
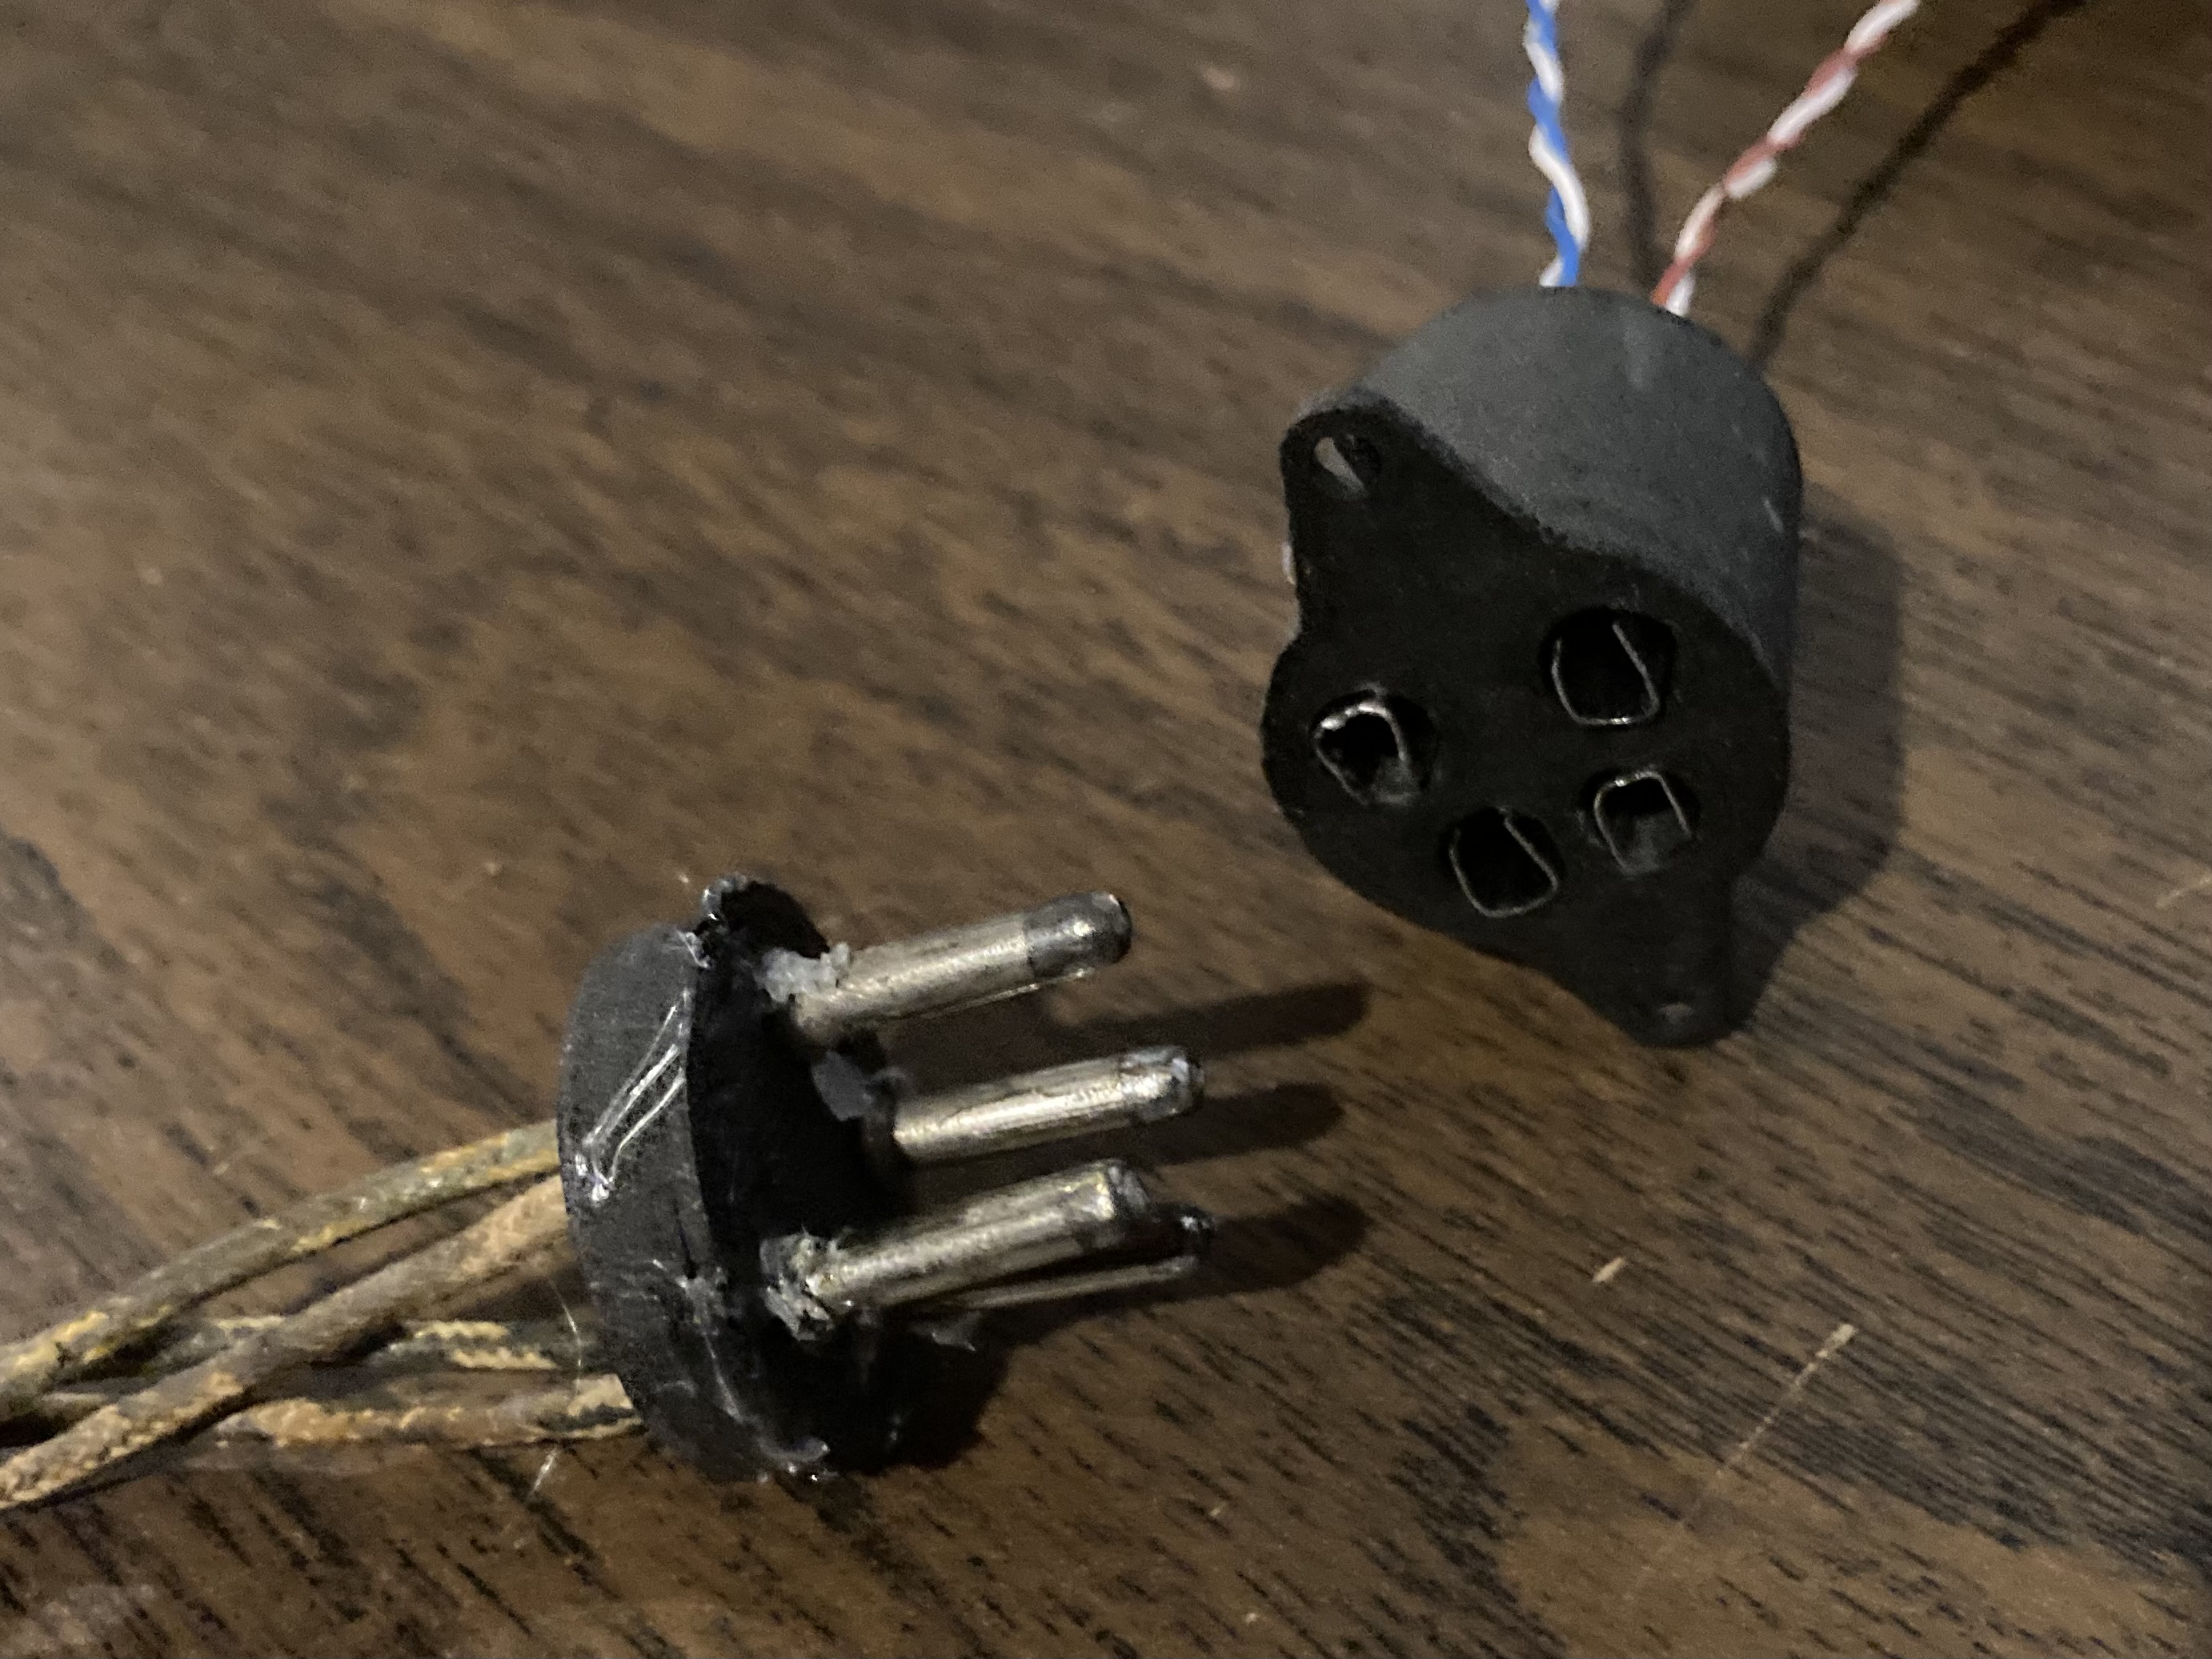
I 3D printed a battery plug to replace the shattered remnants on the end of the power cord. I measured the dimensions on the schematic to try to match the original. I built a power supply to run it so I didn’t have to use batteries, chronicled in my previous post.
The schematic and a handy list of Sears part numbers are included on the inside panel: (A full schematic including the alignment procedure is available from the Radiomuseum.)
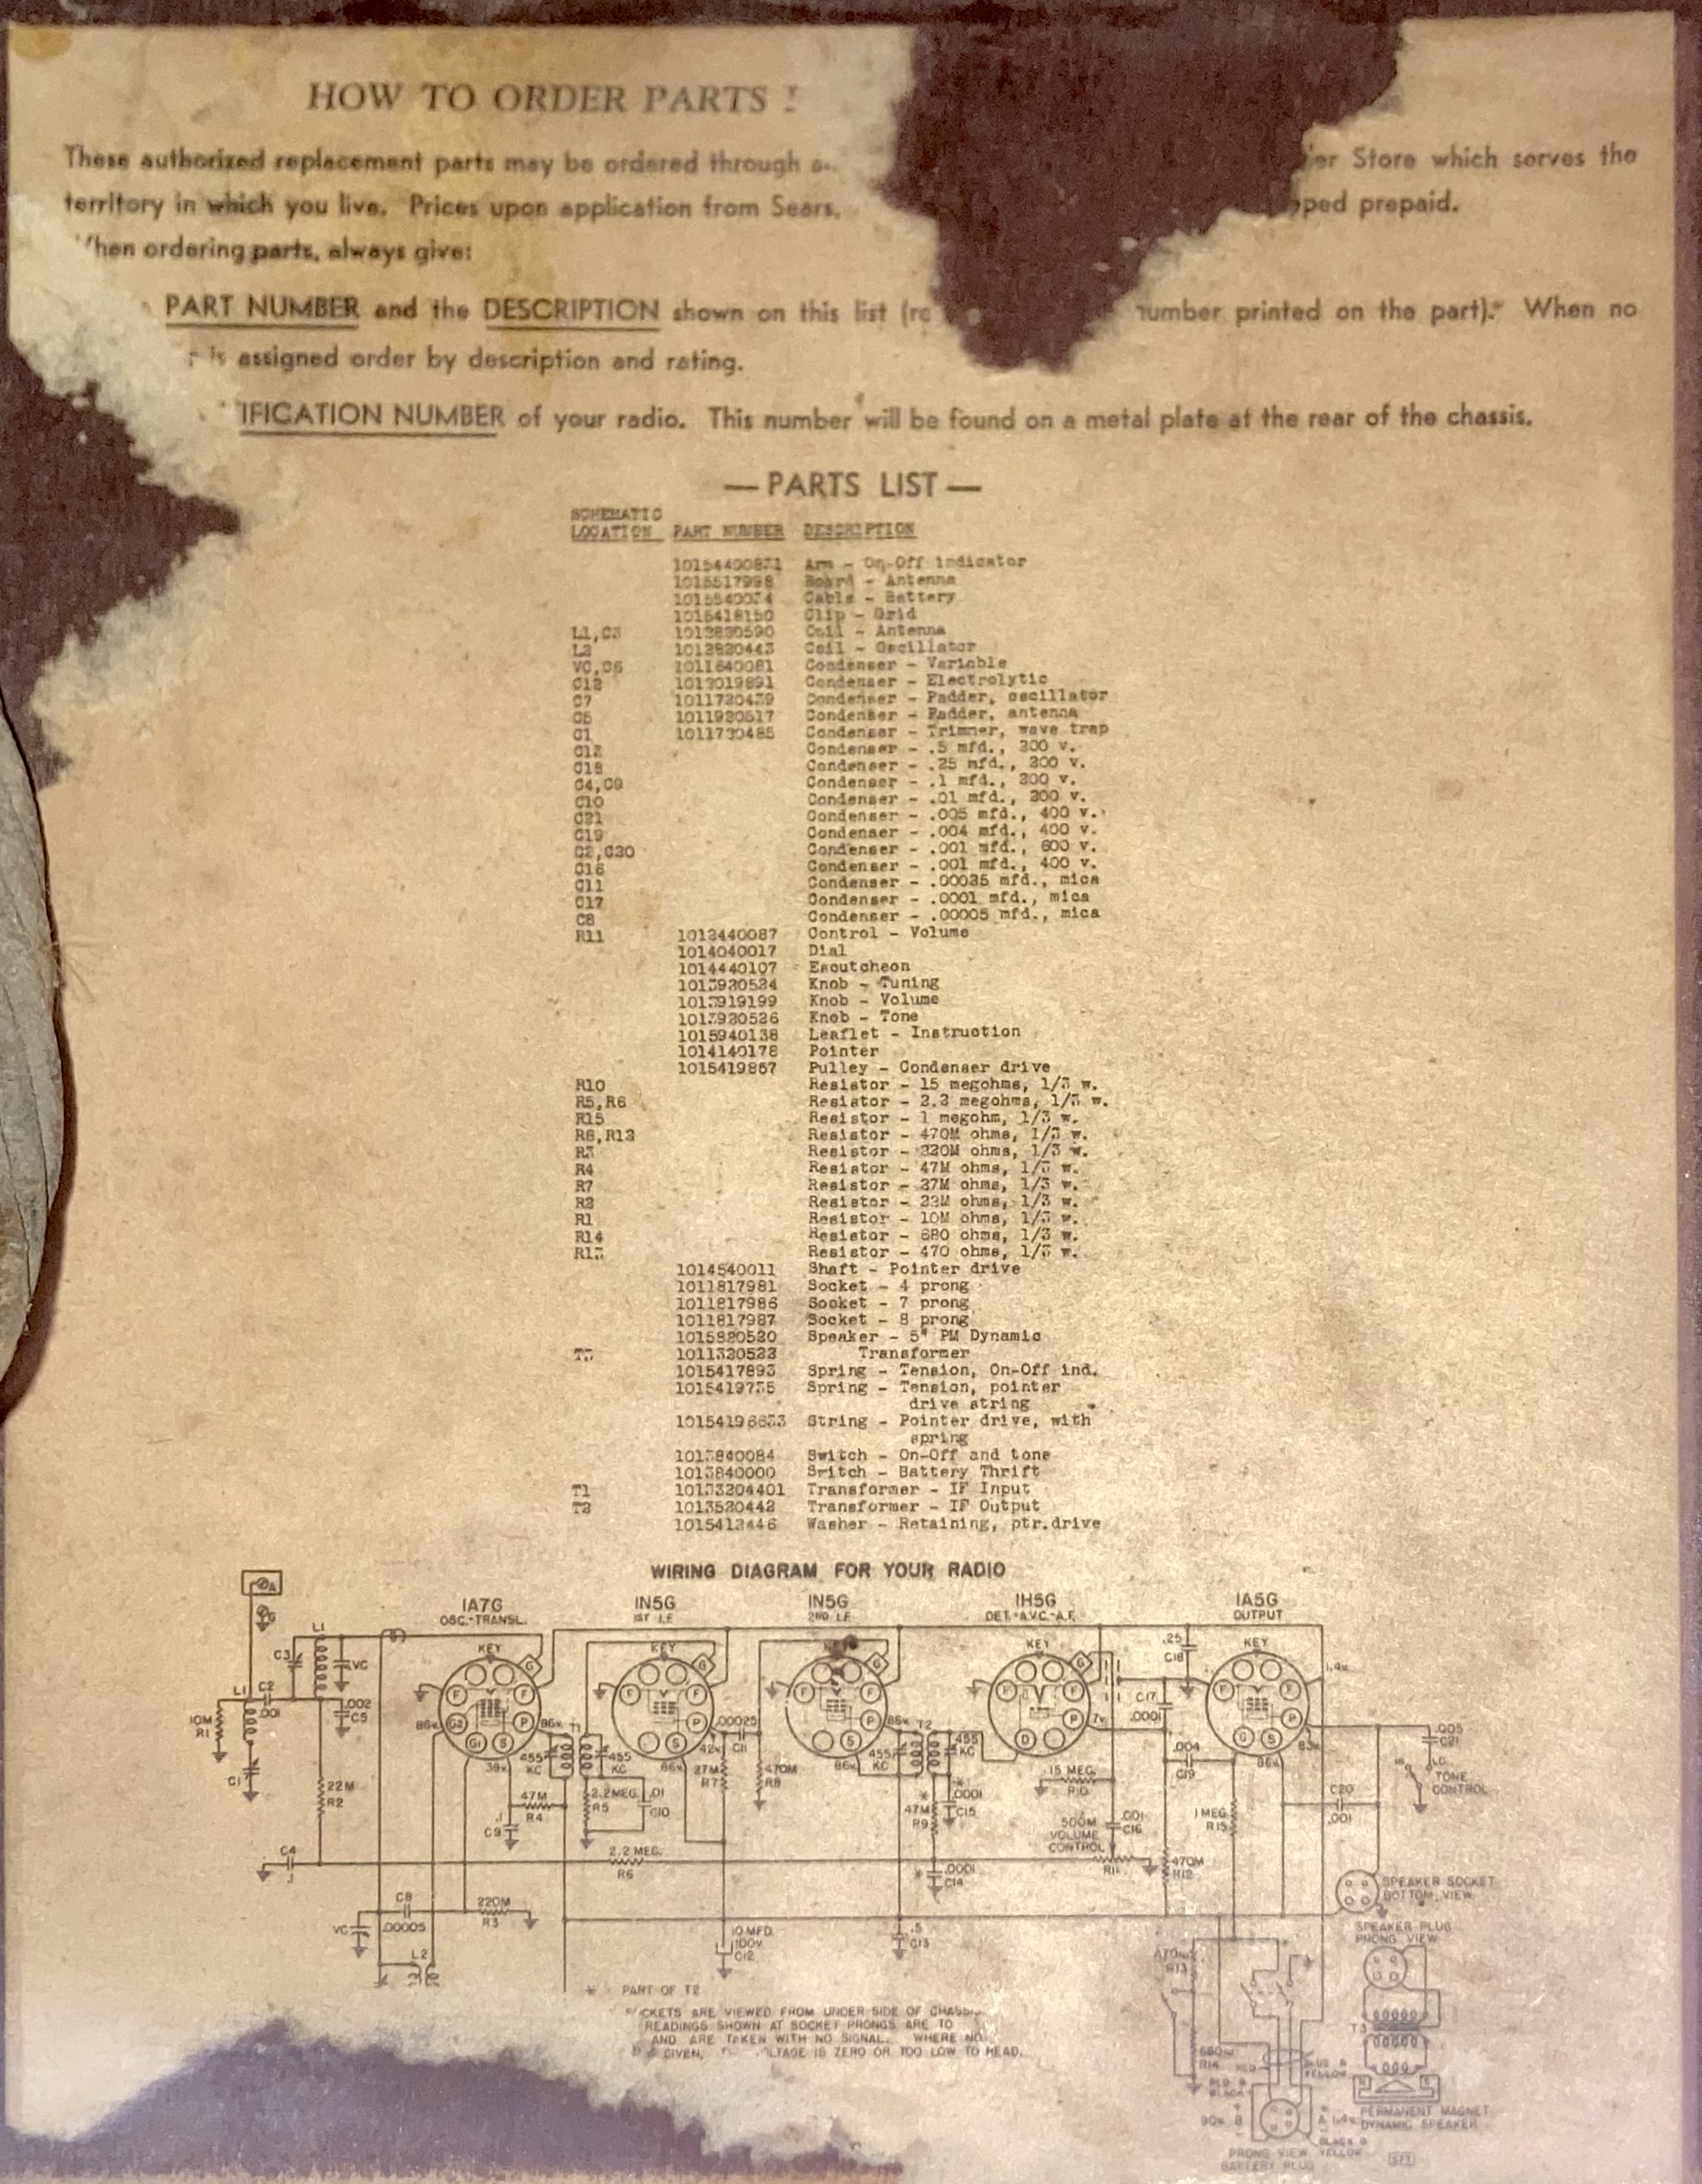
As well as a long list of patents, the tube layout, and the battery connections:
I like the “Battery Thrift Switch” on the back that switches a resistor into the
plate supply to reduce power usage and save battery.

Sprucing up the case
To get the outside looking nice took some work. I started by stripping the old
finish:
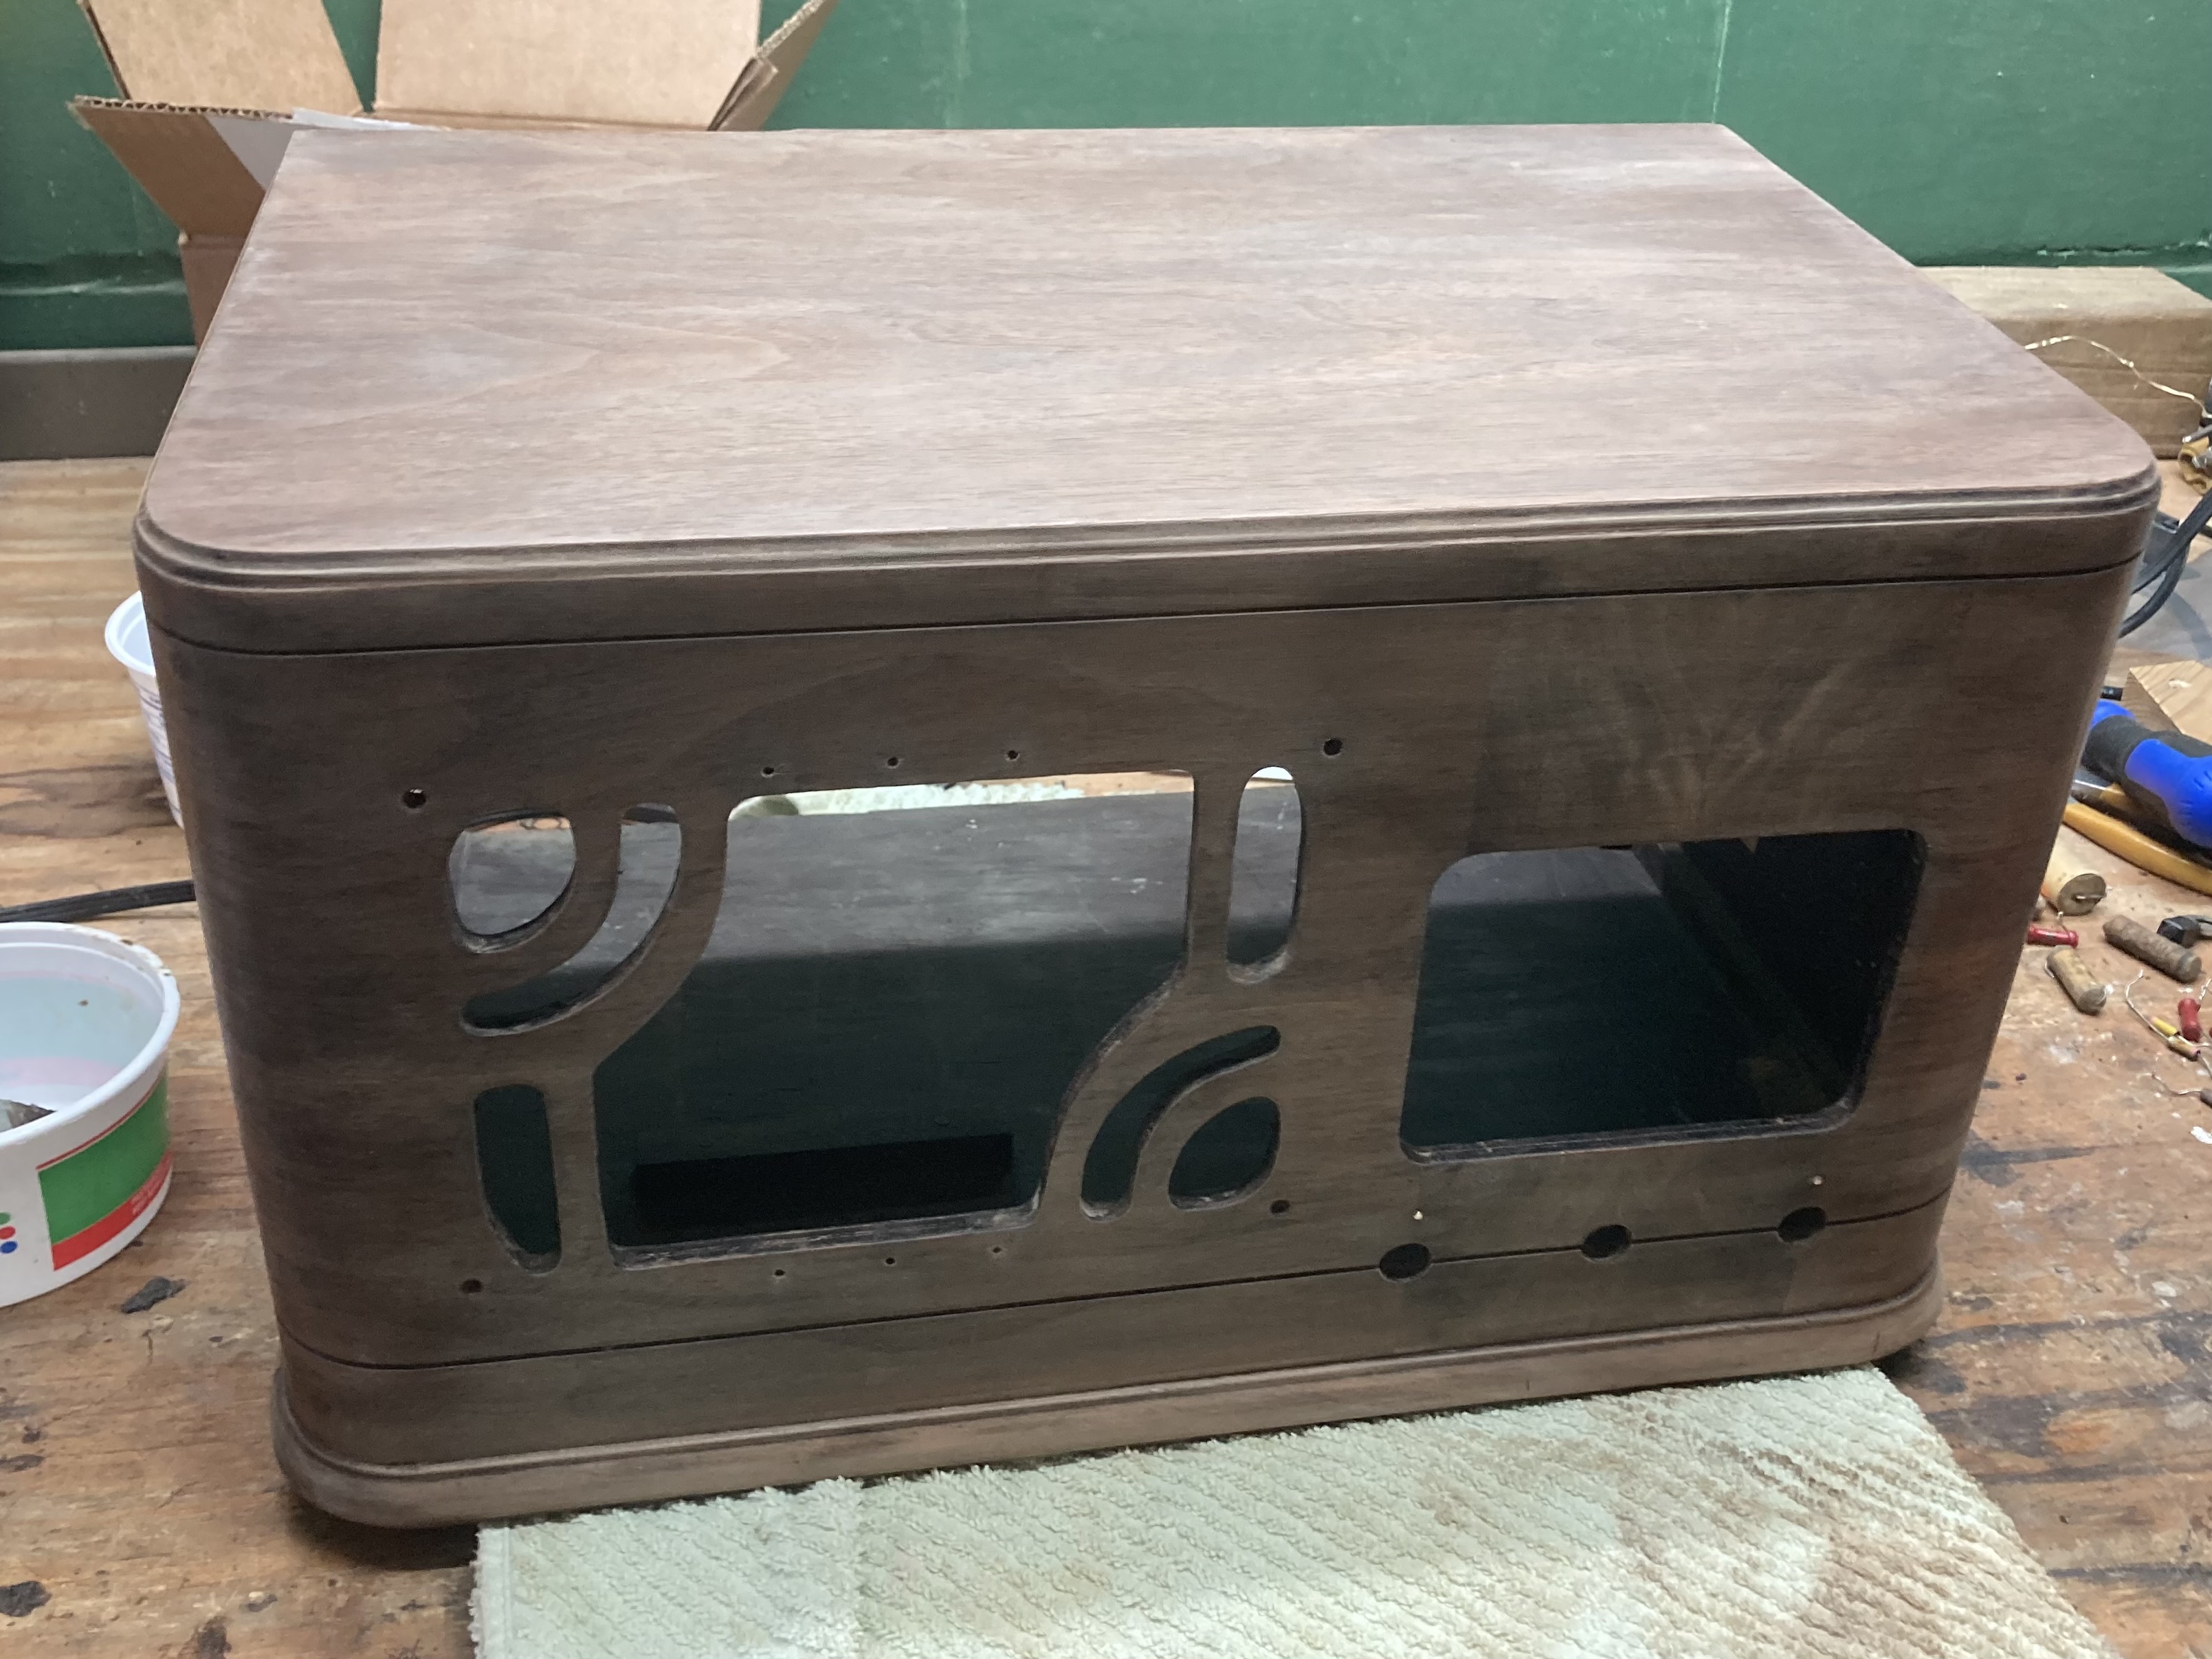 Then I lightly stained it and painted the black trim. I think the bottom
trim also had some kind of darker paint on it, but I ended up leaving it bare.
Then I lightly stained it and painted the black trim. I think the bottom
trim also had some kind of darker paint on it, but I ended up leaving it bare.
 The plastic cover cleaned up pretty well with some soap and water and then Windex.
The knobs were filthy, but they looked nice after soaking in soapy water and
some scrubbing. The decorative screws holding the speaker on were rather rusty,
so I used some steel wool to clean them up a little while leaving them black.
The frame around the dial is just thinly plated, so my attempts at polishing it
just made it worse, but it is still not too bad.
The plastic cover cleaned up pretty well with some soap and water and then Windex.
The knobs were filthy, but they looked nice after soaking in soapy water and
some scrubbing. The decorative screws holding the speaker on were rather rusty,
so I used some steel wool to clean them up a little while leaving them black.
The frame around the dial is just thinly plated, so my attempts at polishing it
just made it worse, but it is still not too bad.
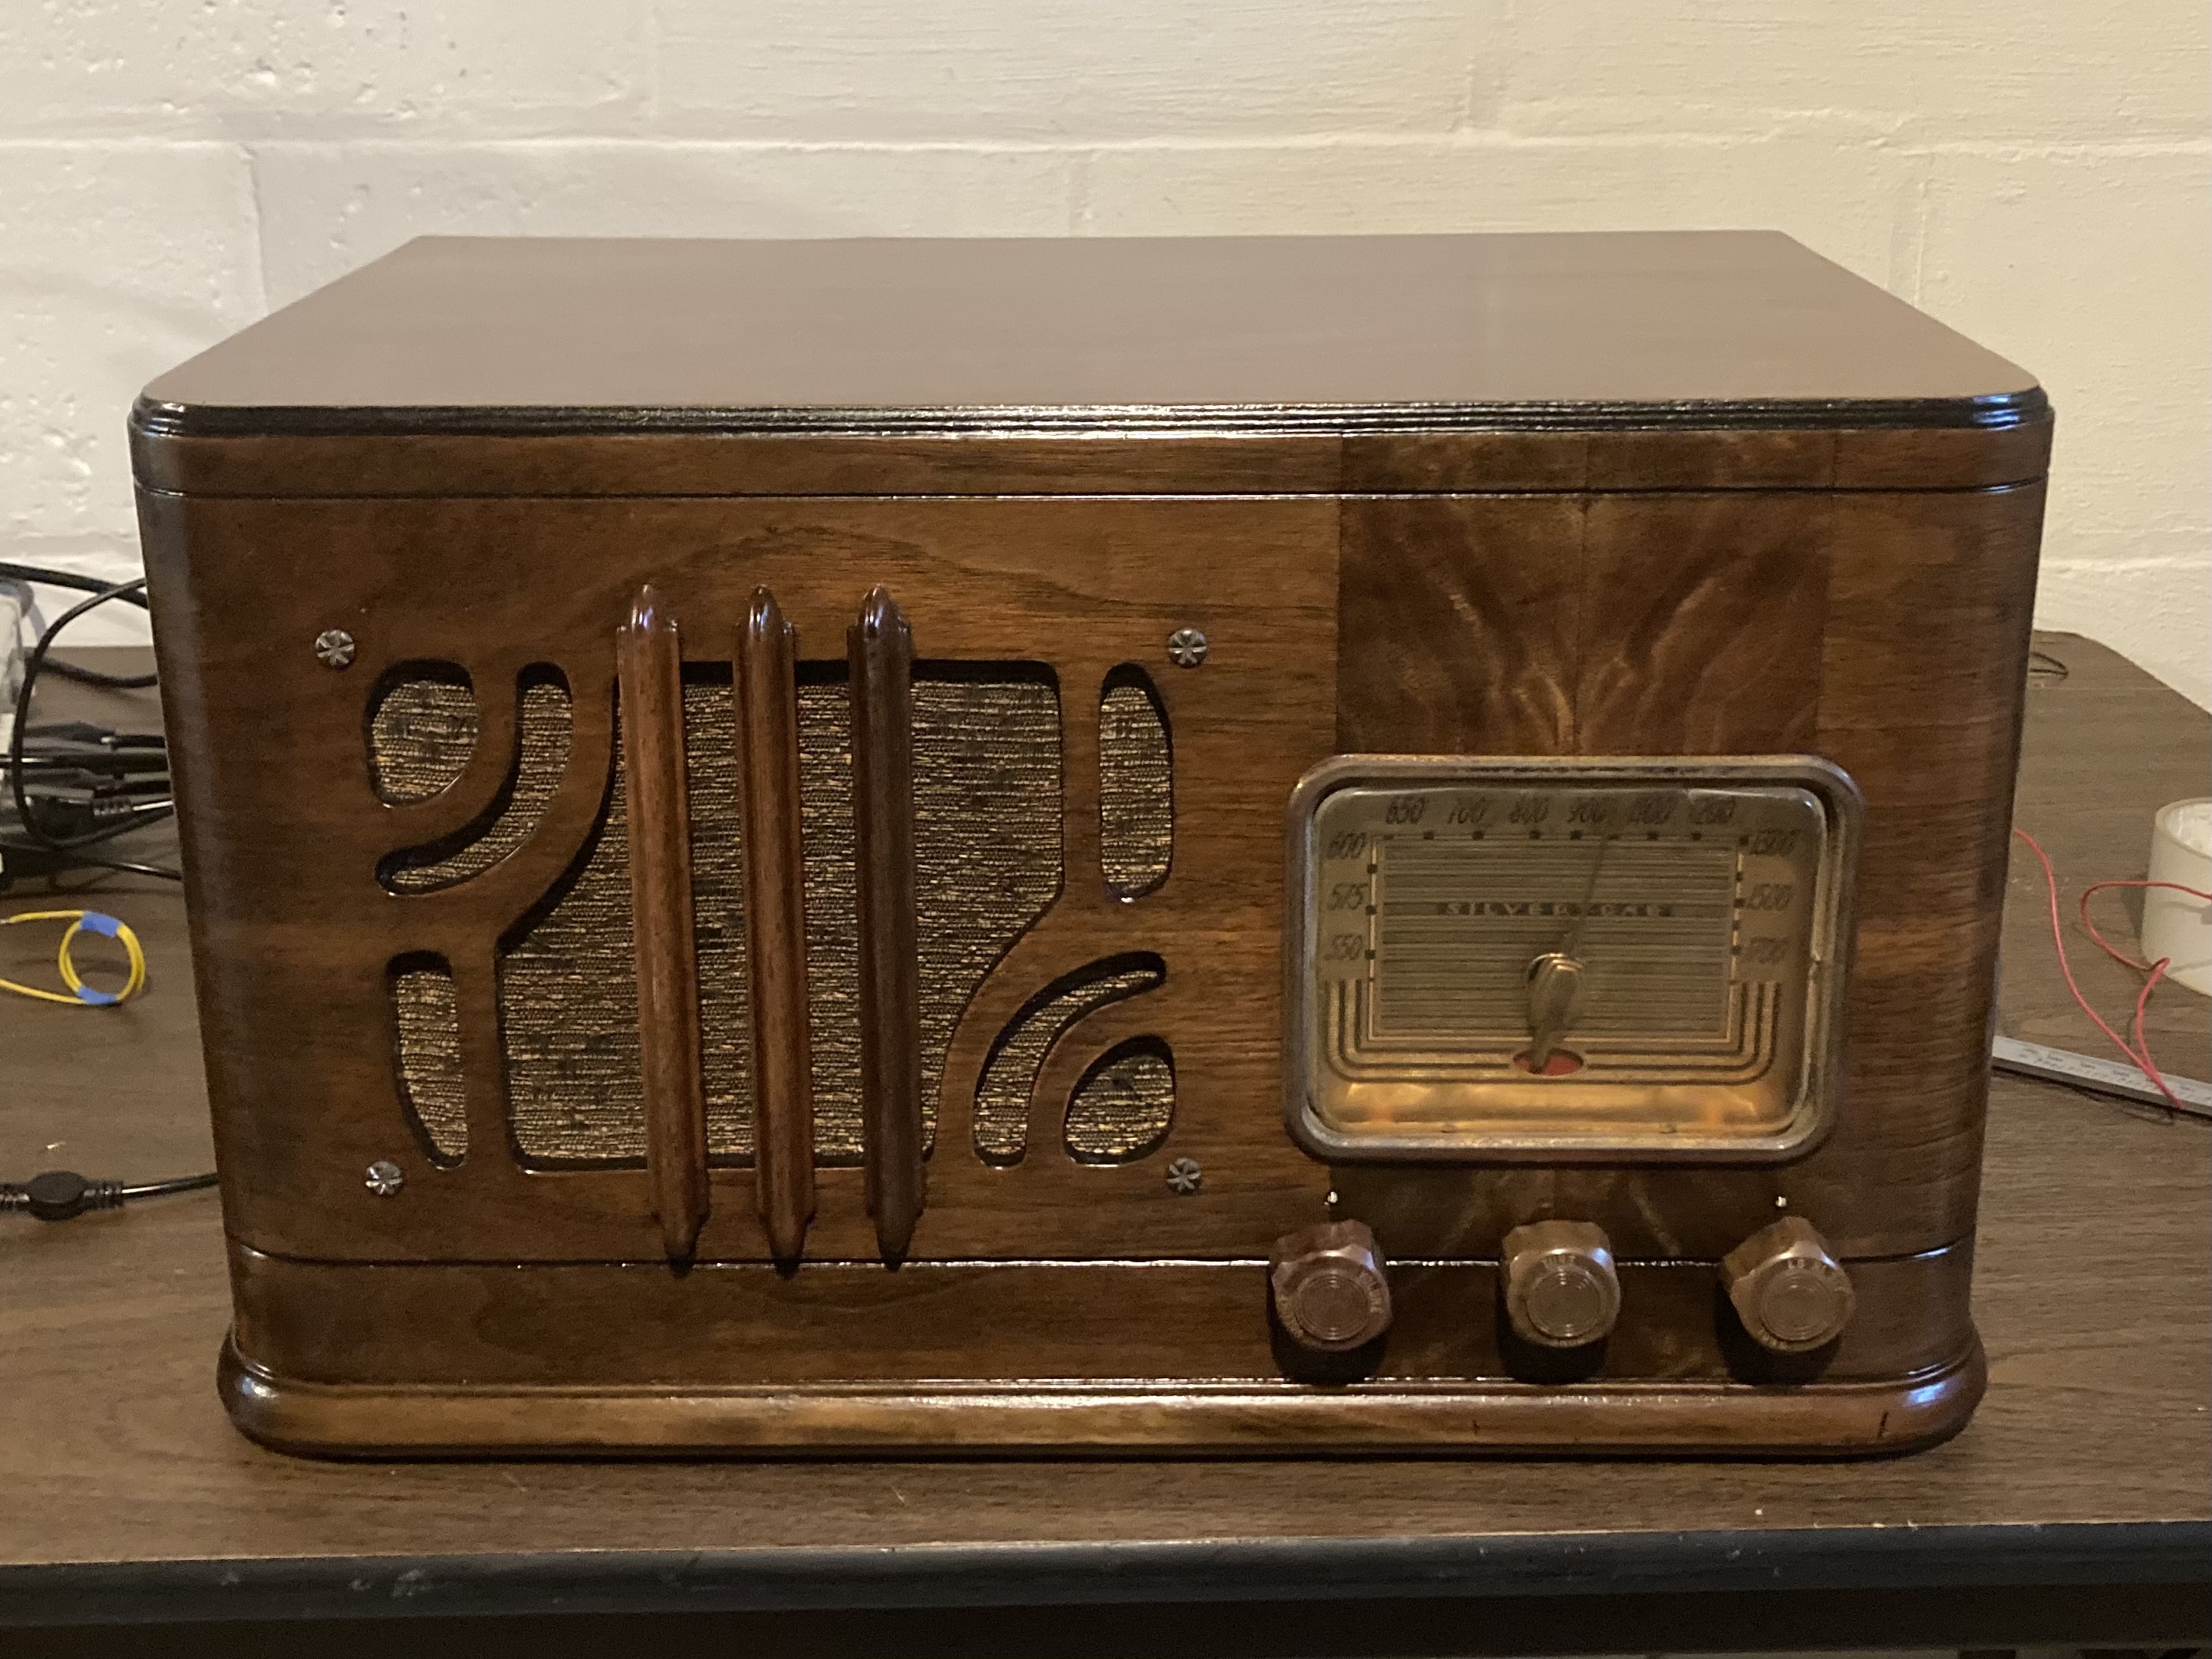
The end result
After a thorough alignment, the radio worked pretty well. I put some polyurethane on the case and then reassembled it: